Showing posts with label improv. Show all posts

12 October 2016

scrap buster medallion


A public photoshoot on a sunny october day by the sea,  airing the newly finished "scrap buster medallion" and taking advantage of having an extra pair of hands / capable photographer helping out. The quilt finishes at 60" by 80", is hand-quilted with perle cotton no 16 on a soft and lovely hobbs cotton batting. 

This one have been 6 years in the making, including a long hibernation waiting for me to find a way to make it a bit wider. The aqua frame was added this spring, using small fussy-cut motives from the african butterfly print by alexander henry I used for the back. 

It feels a bit strange bringing your creation out in the open. It is a good way to display a bigger quilt if you don't have a big garden of your own. I always appreciate the way daylight presents the colours of the quilts. So hopefully this first will not be the last outdoor in public photoshoot adventure for me...

; )

02 October 2016

vertical


Vertical basting - basting on the wall. My latest quilt top "vertical", composed of horizontal rows of strings of different widths. Scrappy. Green with accompanying yellow / orange and pink.  

About 60" * 80". Quilters Dream Select cotton batting. Pinning standing up or sitting / standing on a chair... Considering how to quilt it.

Can you believe this is my post number 400! Thank you all for being part of my blogging with kind and lovely comments and questions over the years.  To celebrate I want to share how to do this vertical basting.

A short picture tutorial:
  • the backing up first, curtain clips and painters tape
  • the batting up second, same curtain clips, just smoothed out with the quilting ruler after softening the crinkles with a short spin in the dryer
  • the quilt top up last, sticking to the batting, being smoothed out with the same ruler until satisfying result is achieved
  • pinning as close as prefered

not shown: removing the quilt sandwich from the wall, cutting off excess batting (leaving at least 2" extra batting and 4" extra backing. Folding up the excess backing over the excess batting and thread basting the edge. This prevents loose fibers on your clothing while handling or hand-quilting.


Wish you all a beautiful Sunday!

; )


23 May 2011

may finish

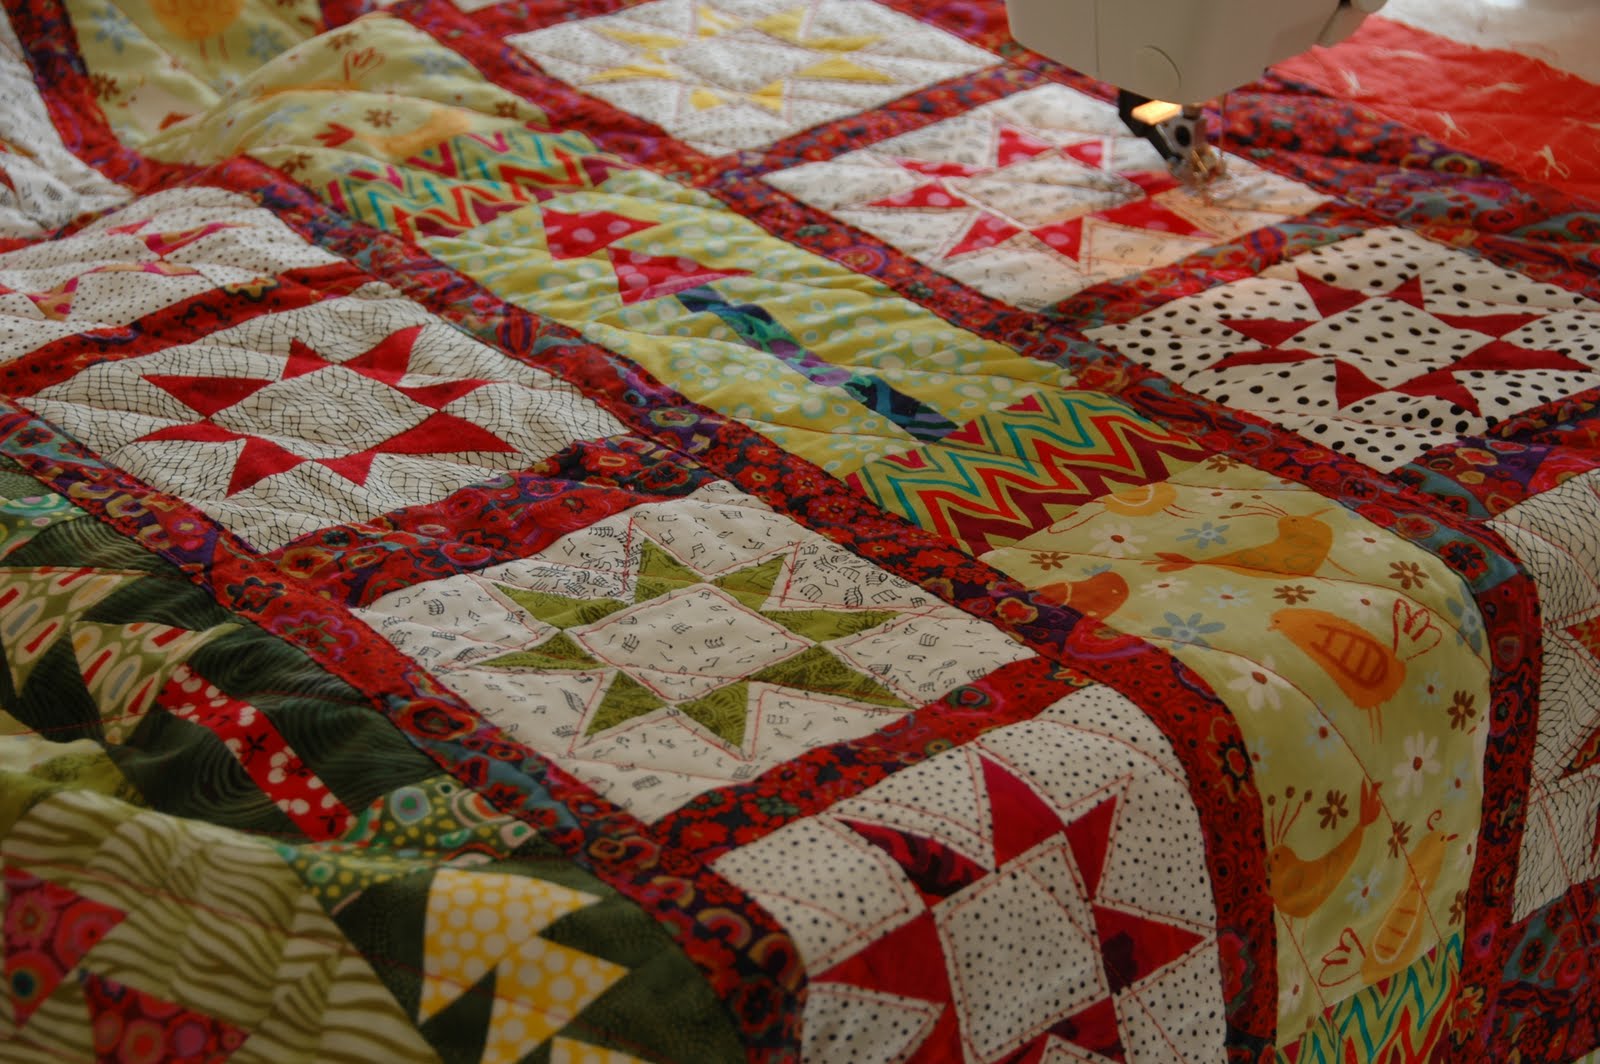
This week I finished a quilt that was started some years ago. My fantasy forrest ended up 38" by 52" after a trip trough the washer and dryer. The batting is Warm & White. I quilted it with diagonal lines 2" apart, and then adding some quilting around the stars and the trees. The quilt now lives with my sweet 7 year old niece, who is celebrating her birthday today ; )


I am happy, she is happy, so it's like a fairy tale, right?

The process of making this quilt has not been so straight forward. Inspired by Gwen and Freddy's Collaborate Quilts, I decided to try their process of making blocks and then gather them into quilt tops.

I started making some trees and then some stars. The design wall was very helpful. The process quite painful. Bits and pieces came together. Frequent breaks. Looking for ways to progress. The top then got to spend more than a year in storage. It kept sending me accusing glances whenever I looked through the pile of finished tops. An upcoming birthday and a pretty red fabric purchase was the inspiration needed to finish it up. (Sorry for the blurry picture.)

Framing the top in red and adding the last star brought it all together. The yellow binding lifted the mood a bit. It is backed in green. The quilt makes me think of little red riding hood, lost in the forrest....

Nifty pointed me in the direction of Sherri Lynn's interesting posts about improv quilting. I like to use different ways of improv techniques in my quilts. It can be fun, and it can be painful...

; )